


Stepping outside on a frosty morning only to discover your car or front door lock has frozen solid is a frustrating experience familiar to many. The combination of moisture and plummeting temperatures creates ice crystals that jam the delicate mechanisms inside locks, leaving you stranded and late for work. Whilst this problem affects millions of people during the winter months, there are several practical solutions that can resolve the issue quickly without causing damage to the lock itself. Understanding the correct techniques for thawing frozen locks and implementing preventative measures can save considerable time and stress throughout the colder season.
Understanding the problem of frozen locks
How moisture causes locks to freeze
Frozen locks occur when moisture infiltrates the internal mechanisms and subsequently freezes as temperatures drop below zero degrees Celsius. This moisture can originate from various sources including rain, snow, condensation, or even humidity in the air. When water enters the keyway or settles around the lock cylinder, it expands upon freezing, creating a solid barrier that prevents the key from inserting properly or turning once inserted.
Why certain locks are more vulnerable
Not all locks experience freezing with equal frequency. Several factors determine vulnerability:
- Locks exposed directly to the elements without protective covers
- Older mechanisms with worn seals that allow moisture penetration
- Locks positioned on north-facing doors that receive minimal sunlight
- Vehicle locks that accumulate moisture from car washes or rain
- Locks in areas with high humidity combined with sudden temperature drops
The quality of the lock construction also plays a significant role, as cheaper models often lack adequate weather sealing. Having identified why locks freeze, the next step involves exploring immediate solutions to restore access.
Using warm water to thaw
The correct temperature and application method
Applying warm water represents one of the most accessible methods for thawing a frozen lock, though it requires careful execution to avoid complications. The water should be warm to the touch but not boiling, ideally between 40 and 50 degrees Celsius. Boiling water can damage the lock’s finish, cause thermal shock to metal components, or even crack plastic elements in modern locks.
Step-by-step application process
To use this method effectively, pour the warm water slowly over the lock mechanism, focusing on the keyway opening. Allow the heat to penetrate for approximately thirty seconds before attempting to insert the key. If the key still won’t enter, repeat the process rather than forcing it. Once the key inserts, gently wiggle it whilst applying minimal turning pressure until the ice melts sufficiently for the mechanism to operate.
Essential aftercare to prevent refreezing
The critical drawback of the warm water method is that it introduces additional moisture into the lock. After successfully opening the lock, you must thoroughly dry the mechanism using compressed air or a clean cloth. Applying a small amount of lock lubricant or WD-40 afterwards helps displace any remaining water and provides protection against immediate refreezing. This moisture-related concern leads naturally to exploring heat-based methods that avoid introducing water altogether.
The hairdryer method
Equipment requirements and safety considerations
A standard household hairdryer provides controlled heat application without the moisture complications associated with water-based methods. This approach requires access to an electrical outlet, which may necessitate an extension lead for outdoor locks. Ensure the hairdryer remains dry throughout the process and never use it in wet conditions to prevent electrical hazards.
Proper technique for maximum effectiveness
Position the hairdryer approximately ten to fifteen centimetres from the lock and direct the warm airflow at the keyway. Use the medium heat setting initially, increasing to high if necessary. Move the hairdryer in a circular motion around the lock cylinder to distribute heat evenly. This process typically requires three to five minutes of continuous application before the ice melts sufficiently.
| Heat Setting | Distance from Lock | Typical Thawing Time |
|---|---|---|
| Medium | 15 cm | 5-7 minutes |
| High | 10 cm | 3-5 minutes |
The advantage of this method lies in its ability to thaw the lock whilst simultaneously evaporating moisture rather than adding it. For those without access to electricity or seeking even faster solutions, commercial products offer another avenue.
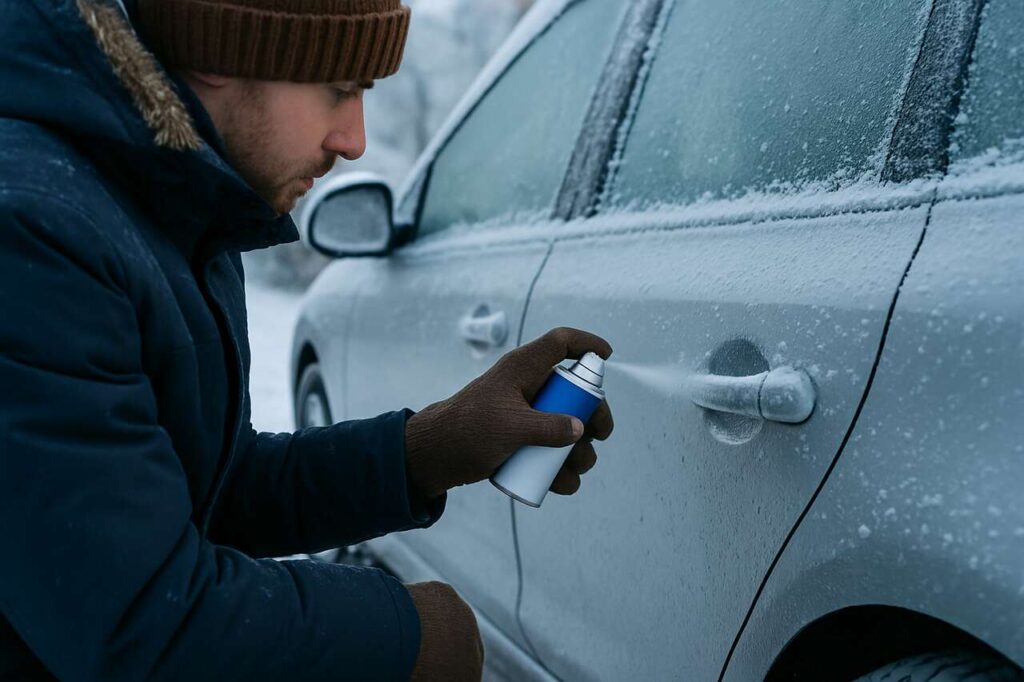
Lock de-icer: an effective option
How commercial de-icers work
Lock de-icer products contain alcohol-based solvents with extremely low freezing points, typically around minus 40 degrees Celsius. These formulations rapidly melt ice whilst displacing moisture and often include lubricants to protect the mechanism. The alcohol evaporates quickly, leaving no residue that might attract dirt or cause future problems.
Application techniques for best results
Insert the de-icer nozzle directly into the keyway and spray for two to three seconds. Wait approximately thirty seconds for the solution to penetrate and melt the ice before attempting to insert your key. If resistance persists, apply a second dose rather than forcing the key. Many de-icer products come in small aerosol cans that fit easily in a pocket or glove compartment, making them ideal for emergency situations.
Choosing the right product
When selecting a lock de-icer, consider these factors:
- Products specifically formulated for locks rather than general de-icers
- Aerosols with precision nozzles for targeted application
- Formulations that include lubricants for added protection
- Containers small enough to carry conveniently
Whilst commercial products offer convenience and reliability, budget-conscious individuals may prefer creating their own solutions using common household items.
Homemade solutions to thaw a lock
Hand sanitiser as an emergency de-icer
The high alcohol content in hand sanitiser makes it an effective improvised de-icer. Apply a generous amount to your key and insert it into the lock, working it gently back and forth. The alcohol melts the ice whilst the gel consistency helps it adhere to the key and penetrate the mechanism. This method works particularly well for minor freezing situations.
Using petroleum jelly for prevention and thawing
Petroleum jelly serves dual purposes as both a preventative measure and a thawing aid. When applied to a key before insertion, it can help displace small amounts of ice whilst lubricating the mechanism. For preventative use, coat the key lightly with petroleum jelly before cold weather arrives, creating a moisture barrier that reduces freezing likelihood.
The heated key technique
Carefully heating a key with a lighter or match provides direct heat transfer to the frozen mechanism. Hold the key with pliers or gloves to avoid burns, heat it for ten to fifteen seconds, then immediately insert it into the lock. The metal’s thermal conductivity transfers warmth directly to the ice, melting it from within. Repeat if necessary, but avoid overheating as excessive temperatures can damage the lock’s internal components. Understanding these reactive solutions naturally raises questions about avoiding the problem entirely through preventative measures.
Preventing locks from freezing in winter
Regular lubrication schedules
Applying graphite-based lubricant or silicone spray monthly throughout winter creates a protective barrier that repels moisture. Unlike oil-based products that can thicken in cold temperatures, graphite remains effective regardless of weather conditions. Insert the applicator nozzle into the keyway and apply a short burst, then work the key in and out several times to distribute the lubricant throughout the mechanism.
Physical protection methods
Installing protective covers over exposed locks provides the first line of defence against moisture and freezing temperatures. Magnetic covers for vehicle locks or weatherproof shields for door locks create barriers against rain, snow, and wind-driven moisture. For temporary protection, even covering a lock with tape or plastic wrap overnight during severe weather can prevent freezing.
Moisture management strategies
Reducing moisture exposure significantly decreases freezing risk:
- Park vehicles in garages or covered areas when possible
- Dry locks thoroughly after car washes or exposure to rain
- Avoid using locks immediately after applying de-icing products that contain water
- Install door canopies or awnings over exterior locks
- Apply water-displacing sprays before anticipated temperature drops
Combining multiple preventative approaches provides the most reliable protection, ensuring locks remain operational throughout even the harshest winter conditions.
Frozen locks need not derail your daily routine when you understand both reactive solutions and preventative strategies. From simple household items like hand sanitiser to purpose-built de-icer products, multiple options exist for rapidly restoring access. The hairdryer method offers a water-free alternative, whilst warm water provides an immediate solution when used correctly with proper aftercare. Most importantly, regular maintenance and moisture protection can eliminate the problem before it occurs, saving time and frustration throughout the winter months. Keeping a small aerosol de-icer in your vehicle or bag ensures you’re never caught unprepared when temperatures plummet unexpectedly.