


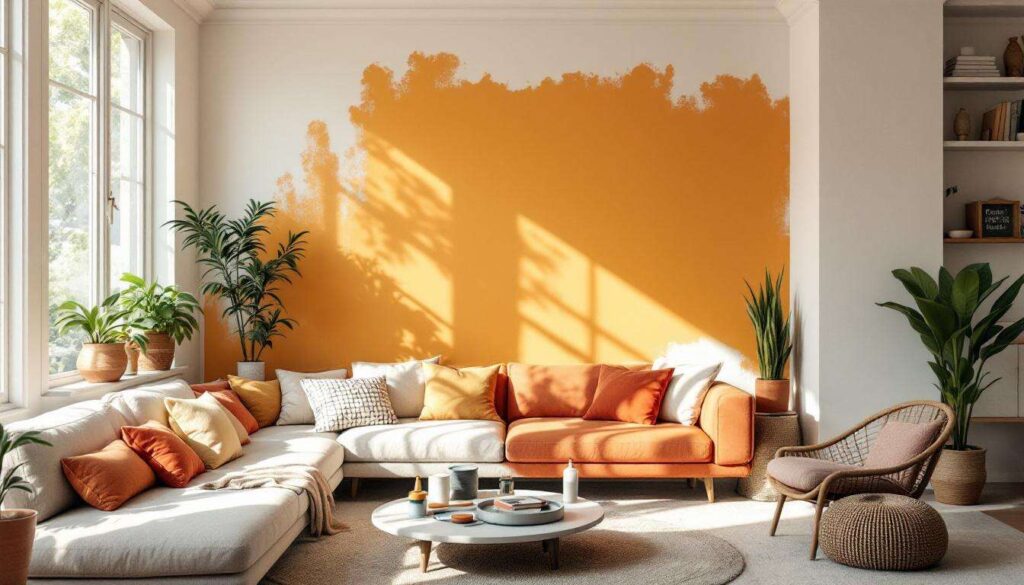
Redecorating a room filled with furniture presents a unique challenge that many homeowners face. Whether you’re refreshing a single wall or tackling an entire space, the prospect of moving heavy sofas, wardrobes, and countless smaller items can feel overwhelming. Professional painters regularly encounter these scenarios and have developed practical strategies to achieve excellent results without emptying the entire room. By following expert advice and employing clever techniques, you can transform your space whilst minimising disruption to your daily life and protecting your belongings from paint splatter.
Preparing the Room to Maximise Space
Strategic furniture grouping
The first step involves consolidating furniture to one side of the room, creating a clear working area. Professional painters recommend dividing the space into two distinct zones: a painting area and a storage area. Move all furniture away from the walls you intend to paint first, clustering items tightly in the centre or opposite side of the room. This approach allows you to work on half the room before switching sides.
When grouping furniture, consider these priorities:
- Place heavier items at the bottom of your furniture stack
- Position lighter objects on top to maximise vertical space
- Keep frequently needed items accessible at the edges
- Create narrow pathways for movement between zones
Protective covering techniques
Proper protection is essential when painting around furniture that cannot be moved. Invest in quality dust sheets rather than thin plastic covers, as fabric materials provide better protection and are less likely to shift during painting. Secure coverings with painter’s tape, ensuring complete coverage of furniture surfaces, particularly the tops of tall pieces that might catch paint spray or roller mist.
| Protection Type | Best For | Cost Range |
|---|---|---|
| Canvas dust sheets | Large furniture, floors | £15-£40 |
| Plastic sheeting | Quick coverage, electronics | £5-£15 |
| Furniture covers | Sofas, armchairs | £10-£25 |
With your furniture properly arranged and protected, the next consideration involves selecting appropriate equipment for working in restricted spaces.
Choosing the Right Tools for Cluttered Areas
Compact painting equipment
Smaller rollers and brushes prove invaluable when navigating around furniture. Standard 9-inch rollers can be cumbersome in tight spaces, so professionals often switch to 4-inch or 6-inch mini rollers for better manoeuvrability. These compact tools allow you to reach awkward corners and work close to furniture edges without constantly repositioning heavy items.
Essential tools for confined painting include:
- Mini roller frames with extension poles
- Angled sash brushes for precision work
- Small paint trays that fit on furniture surfaces
- Edging tools for straight lines near obstacles
Extension pole advantages
An adjustable extension pole transforms your painting efficiency in crowded rooms. Rather than climbing ladders or stretching dangerously, extension poles allow you to paint high walls and ceilings whilst standing safely on the floor. This becomes particularly valuable when furniture limits your movement options. Choose a telescopic pole that extends from 1 to 2.5 metres, providing flexibility for various ceiling heights and wall sections.
Paint selection considerations
The type of paint you choose affects both application ease and drying time in furniture-filled spaces. Low-VOC paints emit fewer fumes, making them preferable when ventilation is restricted by furniture placement. Quick-drying formulas also prove beneficial, reducing the time furniture must remain displaced and minimising the risk of accidental contact with wet surfaces.
Having assembled the appropriate tools, attention must turn to application methods that prevent unwanted paint distribution.
Splatter-Free Painting Techniques
Controlled roller application
Professional painters emphasise loading rollers correctly to prevent splatter. Roll the paint roller in the tray until evenly coated, then remove excess paint by rolling against the tray’s ridged section. A properly loaded roller should feel slightly damp rather than dripping. Apply paint using smooth, vertical strokes rather than rapid back-and-forth motions that create splatter.
Key splatter prevention methods:
- Maintain consistent roller pressure against the wall
- Avoid spinning the roller at the end of each stroke
- Work in sections no larger than one square metre
- Keep the roller moving at a steady, controlled pace
Cutting in without overspray
Cutting in refers to painting edges and corners with a brush before using a roller on larger areas. When furniture sits nearby, use a steady hand and a lightly loaded brush to prevent drips. Hold the brush at a 45-degree angle to the wall, using the bristle tips for precision. Paint shields or edging tape provide additional protection when working extremely close to valuable furniture pieces.
Managing paint containers
Position paint trays and tins strategically to minimise movement through the cluttered space. Place them on stable, protected surfaces at comfortable working height. Consider using paint tray liners for quick colour changes and easier cleanup. Never overfill trays, as this increases splatter risk when loading rollers.
Once paint application is complete, ensuring proper drying becomes the priority in space-restricted environments.
Optimising Drying in Confined Spaces
Ventilation strategies
Adequate airflow proves challenging when furniture occupies most of the room. Strategic fan placement accelerates drying whilst preventing dust accumulation on wet surfaces. Position fans to create cross-ventilation, directing air across painted walls rather than directly at them. Open windows on opposite sides of the room when possible, creating natural air circulation that carries paint fumes outdoors.
| Ventilation Method | Drying Time Reduction | Effectiveness |
|---|---|---|
| Open windows only | 15-20% | Moderate |
| Single fan | 25-30% | Good |
| Cross-ventilation with fans | 40-50% | Excellent |
Temperature and humidity control
Environmental conditions significantly impact drying times. Maintain room temperature between 15-25°C for optimal paint curing. Use dehumidifiers in damp conditions, as excess moisture prolongs drying and may cause paint defects. Conversely, avoid painting during extremely hot weather, which can cause paint to dry too quickly and create surface imperfections.
Protecting wet surfaces
Mark freshly painted areas clearly to prevent accidental contact. Use painter’s tape or warning signs to indicate wet zones, particularly important when household members need access to the room. Avoid the temptation to move furniture back prematurely; most paints require 24-48 hours to cure sufficiently, even if they feel dry to the touch after a few hours.
After allowing adequate drying time, the final stage involves restoring the room to its functional state.
Rearranging Furniture After Painting
Timing your furniture return
Patience during this final stage prevents damage to your newly painted walls. Wait at least 24 hours before moving furniture back against walls, and 48-72 hours for high-traffic areas or humid conditions. Test paint dryness by touching an inconspicuous area with a clean finger; properly cured paint should feel smooth and cool without any tackiness.
Careful repositioning techniques
When moving furniture back into position, lift rather than drag items to prevent scuffing fresh paintwork. Use furniture sliders or cardboard pieces under legs to protect both floors and skirting boards. For heavy pieces, recruit assistance rather than risking damage to your newly decorated walls through rushed or awkward manoeuvring.
Recommended repositioning sequence:
- Remove all protective coverings and dispose of properly
- Vacuum or sweep the entire floor area
- Position largest furniture pieces first
- Add medium-sized items, maintaining wall clearance
- Place decorative objects and smaller furnishings last
Final inspection and touch-ups
Once furniture is repositioned, conduct a thorough inspection of your paintwork. Natural daylight reveals imperfections that artificial lighting might miss. Keep leftover paint for minor touch-ups, which become easier to execute once furniture no longer obstructs wall access. Address any missed spots or thin areas promptly whilst paint is still fresh and colour-matched.
Painting a furniture-filled room requires methodical planning and patience, but the results justify the effort. By strategically grouping furniture, selecting appropriate tools, employing splatter-prevention techniques, ensuring proper drying conditions, and carefully repositioning items, you can achieve professional-quality results without the expense and disruption of completely emptying your space. These expert strategies transform a potentially overwhelming project into a manageable task that refreshes your home whilst respecting the practical realities of occupied living spaces.