


Laying vinyl flooring in a bathroom seems deceptively straightforward until you’re knee-deep in the project, realising that countless crucial details were never mentioned in those cheerful online tutorials. The reality involves far more nuance than simply unrolling material and sticking it down, with hidden challenges that can transform a weekend project into a frustrating ordeal. From moisture considerations to expansion gaps that nobody bothers explaining properly, the devil truly lurks in the details.
Essential preparation and planning
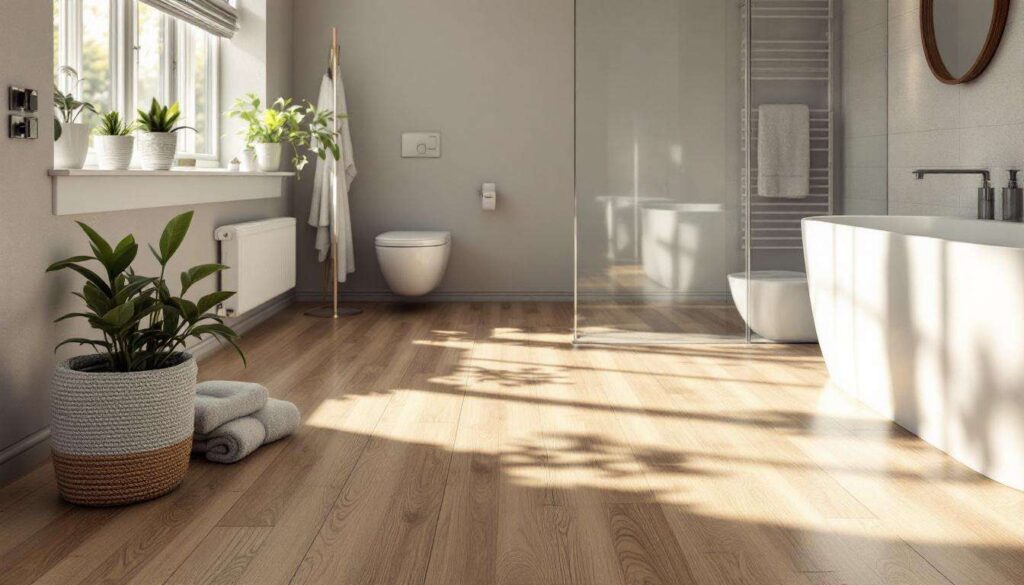
Understanding your bathroom’s unique requirements
Bathrooms present specific challenges that distinguish them from other rooms in your home. The constant exposure to moisture, temperature fluctuations and water splashes demands meticulous planning before you purchase a single tile or plank. Most DIY guides gloss over the fact that your bathroom’s existing structure significantly influences which vinyl type you can use and how you’ll install it.
Consider these critical factors before beginning:
- Existing subfloor condition and material composition
- Moisture levels and ventilation quality in the space
- Plumbing fixtures that require working around or temporary removal
- Floor heating systems that may affect adhesive choices
- Doorway transitions and threshold heights
Creating a realistic timeline
The process requires significantly more time than advertised. Manufacturers suggest completion within hours, but realistic timelines account for acclimation periods, adhesive curing times and the inevitable complications that arise. Plan for at least three to five days from start to finish, including proper preparation and allowing materials to adjust to room temperature and humidity levels.
These timing considerations naturally lead into selecting appropriate materials that can withstand bathroom conditions whilst fitting your installation capabilities.
Choosing the right materials: which vinyl for your bathroom ?
Waterproof versus water-resistant distinctions
The terminology surrounding vinyl flooring creates considerable confusion for DIY installers. Water-resistant vinyl can handle surface moisture and occasional splashes but isn’t suitable for areas with standing water or persistent dampness. Waterproof vinyl, particularly luxury vinyl plank with rigid core construction, offers superior protection against moisture penetration through its entire structure.
| Vinyl type | Water protection | Bathroom suitability | Average cost per m² |
|---|---|---|---|
| Sheet vinyl | Water-resistant | Moderate | £15-30 |
| Luxury vinyl tile | Varies | Good with proper sealing | £20-45 |
| Rigid core waterproof | Fully waterproof | Excellent | £25-60 |
Thickness and wear layer considerations
Nobody mentions that wear layer thickness directly impacts longevity in high-moisture environments. A minimum 0.3mm wear layer provides adequate protection for residential bathrooms, whilst 0.5mm or thicker offers enhanced durability. The overall product thickness affects how the flooring handles subfloor imperfections and influences underfoot comfort.
Understanding material specifications prepares you for gathering the proper equipment needed for successful installation.
Essential tools for laying vinyl
Beyond the basic toolkit
Standard DIY guides mention utility knives and measuring tapes but conveniently omit specialised tools that make the difference between professional-looking results and amateur disasters. A vinyl roller weighing at least 45kg ensures proper adhesive contact, yet rental costs rarely appear in budget calculations. Similarly, a quality notched trowel with the correct notch size for your specific adhesive prevents application problems.
- 100lb floor roller for adhesive applications
- Jamb saw for undercutting door frames
- Heat gun for softening vinyl around awkward corners
- Scribing tool for precise toilet flange cuts
- Chalk line for maintaining straight reference lines
Safety equipment nobody discusses
Working with adhesives and cutting vinyl releases chemical vapours and fine particles that demand proper respiratory protection. Knee pads become essential rather than optional when spending hours working at floor level, and safety glasses protect against debris when cutting or scoring materials.
Having assembled your equipment, attention turns to preparing the surface that determines installation success.
Surface preparation: key steps for perfect adhesion
Subfloor assessment and correction
The most overlooked aspect involves achieving a perfectly level, clean and dry subfloor. Vinyl telegraphs every imperfection, meaning that small bumps, dips or debris become visible through the finished floor. Use a straight edge to identify variations exceeding 3mm over a 3-metre span, which require correction with self-levelling compound.
Moisture testing protocols
Concrete subfloors in bathrooms frequently harbour excessive moisture that compromises adhesive bonds and encourages mould growth beneath vinyl. Conduct a calcium chloride test or use a moisture metre to verify readings below 4.5% for concrete. Wooden subfloors should register below 12% moisture content before proceeding.
Primer application necessity
Manufacturers rarely emphasise that many bathroom subfloors require primer application before vinyl installation. Primers seal porous surfaces, improve adhesive bonding and create moisture barriers on concrete. Skipping this step invites future failures that necessitate complete reinstallation.
With surfaces properly prepared, the actual cutting and fitting process presents its own set of undisclosed challenges.
Tips for cutting and fitting vinyl
Acclimation requirements
Vinyl materials expand and contract with temperature changes, yet this crucial detail receives minimal attention. Store vinyl planks or sheets in the bathroom for 48-72 hours before installation, allowing them to adjust to ambient conditions. Failure to acclimate results in buckling or gaps appearing weeks after installation.
Expansion gap calculations
Leave a 6-10mm gap around all room perimeters and fixed objects to accommodate thermal expansion. These gaps remain hidden beneath skirting boards and toilet bases but prevent the floor from buckling when materials expand. Calculate gaps based on room dimensions and manufacturer specifications.
Template creation for complex cuts
Cutting around toilets, pedestal sinks and pipework demands precision that freehand measuring cannot achieve. Create cardboard templates that exactly replicate these complex shapes, allowing multiple fitting attempts without wasting expensive vinyl. Transfer templates to vinyl using a sharp pencil before making final cuts.
Even with careful preparation and cutting, certain mistakes plague DIY vinyl installations repeatedly.
Common mistakes to avoid when laying
Adhesive application errors
Applying too much adhesive causes it to squeeze through seams and create permanent staining, whilst insufficient coverage leads to loose spots and eventual lifting. Follow the manufacturer’s spread rate precisely, typically 2-3 square metres per litre, and maintain consistent trowel angles throughout application.
Rushing the curing process
Impatience proves costly when homeowners replace toilets or walk on newly installed vinyl before adhesives fully cure. Most products require 24-48 hours before light foot traffic and 72 hours before heavy fixtures return. Premature loading shifts vinyl from its intended position, creating permanent imperfections.
Ignoring seam sealer importance
Seams between vinyl planks or sheets provide entry points for moisture unless properly sealed with manufacturer-recommended seam sealer. This liquid welding compound creates waterproof bonds that prevent water infiltration, particularly critical near showers, baths and sinks where water exposure occurs regularly.
Successfully installing vinyl flooring in your bathroom demands attention to details that rarely feature in simplified installation guides. Proper material selection based on genuine waterproof capabilities rather than marketing claims, thorough surface preparation including moisture testing and levelling, and patient adherence to acclimation and curing times separate successful projects from disappointing failures. The investment in appropriate tools and willingness to address unglamorous preparation steps ultimately determines whether your DIY effort achieves professional-quality results or requires costly remediation.