


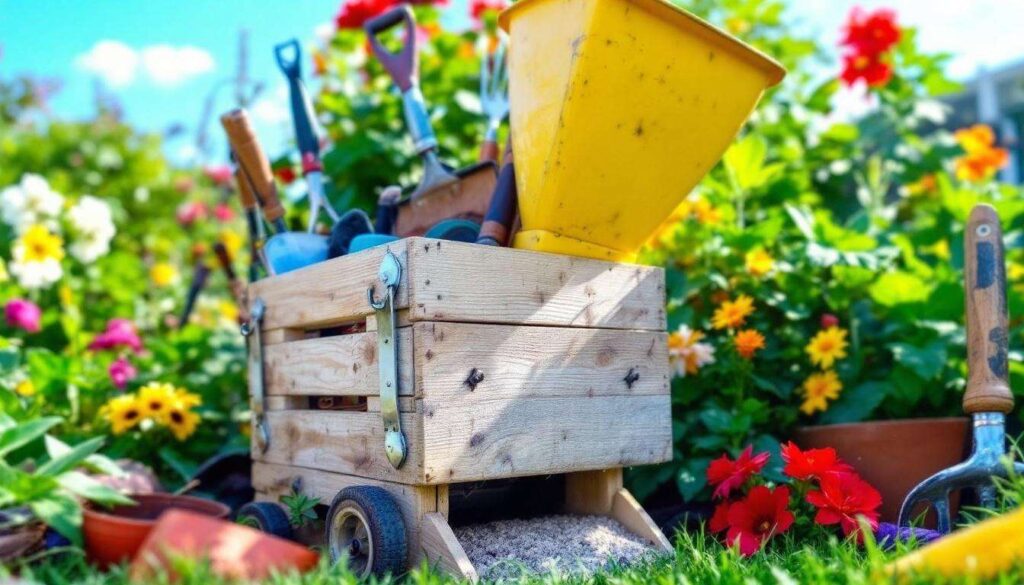
Garden waste accumulates rapidly throughout the growing season, creating piles of branches, prunings and organic debris that require proper management. Building your own garden shredder offers a practical solution to transform this waste into valuable mulch whilst saving money and reducing environmental impact. This project combines mechanical ingenuity with sustainable gardening practices, providing a durable tool that serves your garden’s needs for years to come.
Why make a garden shredder yourself
Cost savings compared to commercial models
Commercial garden shredders typically range from £200 to over £1,000, depending on capacity and features. Constructing your own shredder dramatically reduces this expense, with material costs generally falling between £50 and £150. The primary investment involves sourcing a suitable motor and blades, whilst other components can often be salvaged or purchased inexpensively from hardware suppliers.
Customisation to match your specific requirements
A homemade shredder allows complete control over specifications. You can adjust the following elements:
- Hopper size to accommodate the volume of waste you typically process
- Blade configuration for different material types
- Motor power based on the thickness of branches you regularly encounter
- Overall dimensions to fit available storage space
This flexibility ensures the finished product perfectly matches your gardening habits rather than forcing you to adapt to a manufacturer’s standardised design.
Learning valuable mechanical skills
The construction process develops practical abilities in metalwork, electrical wiring and mechanical assembly. These transferable skills prove useful for future DIY projects and equipment repairs, adding long-term value beyond the immediate shredder application.
Understanding these practical and financial advantages naturally leads to considering what materials you’ll need to bring this project to fruition.
The materials needed to build your shredder
Essential components for the cutting mechanism
The heart of your shredder consists of the cutting assembly, which requires careful selection. A sturdy electric motor between 2 and 3 horsepower provides sufficient power for typical garden waste. Lawnmower blades or purpose-made chipper blades work effectively, mounted on a robust steel shaft with appropriate bearings to handle rotational forces.
Framework and housing materials
The structural elements include:
- Steel tubing or angle iron for the main frame (approximately 3-4 metres)
- Sheet metal or thick plywood for the hopper and discharge chute
- Heavy-duty bolts, nuts and washers for assembly
- Rubber feet or wheels for stability and mobility
Safety and electrical requirements
| Component | Purpose | Approximate cost |
|---|---|---|
| Safety switch | Emergency shut-off | £15-25 |
| Protective guards | Prevent contact with blades | £10-20 |
| Electrical cable | Power connection | £8-15 |
| Circuit breaker | Overload protection | £12-20 |
Gathering these materials establishes the foundation for beginning the actual construction work.
Step-by-step construction process
Building the frame and base structure
Start by cutting the steel tubing to create a rectangular base frame measuring approximately 60cm by 45cm. Weld or bolt the corners securely, then add vertical supports at each corner rising to about 80cm height. This elevation provides comfortable working height whilst allowing space beneath for the collection container.
Installing the motor and cutting mechanism
Mount the motor securely to a steel plate that attaches to the frame. Position the motor shaft vertically for optimal material flow. Attach the blade assembly to the shaft using appropriate fixings, ensuring everything is balanced to prevent vibration. Install bearings to support the shaft and reduce wear on the motor.
Constructing the hopper and discharge system
Fashion a funnel-shaped hopper from sheet metal, creating an opening approximately 30cm wide at the top that narrows towards the blade chamber. Angle the sides at roughly 45 degrees to encourage material to feed naturally towards the blades. Attach a discharge chute at the bottom, angled away from the operator position.
Adding safety features and final assembly
Install protective guards around all moving parts, ensuring no gaps allow accidental contact with blades. Wire the emergency stop switch within easy reach and connect all electrical components through a properly rated circuit breaker. Test all connections thoroughly before first use.
With construction complete, attention shifts to proper operation and ongoing care of your new equipment.
Usage tips and maintenance for your shredder
Safe operating procedures
Always wear safety goggles, hearing protection and sturdy gloves when operating the shredder. Feed material gradually rather than forcing large quantities through at once. Never reach into the hopper whilst the motor runs, and keep children and pets at a safe distance during operation.
Regular maintenance schedule
- Inspect blade sharpness monthly and sharpen or replace as needed
- Check all bolts and fixings for tightness after every 10 hours of use
- Lubricate bearings quarterly with appropriate grease
- Clean debris from the motor housing after each session
- Examine electrical connections annually for wear or damage
Troubleshooting common issues
Excessive vibration typically indicates unbalanced blades or loose mounting bolts. Reduced cutting efficiency suggests dull blades requiring sharpening. Motor overheating points to inadequate ventilation or attempting to process material beyond the machine’s capacity.
Proper use and maintenance not only ensures longevity but also maximises the broader benefits this equipment provides.
Ecological and economic benefits of a homemade shredder
Reducing waste sent to landfill
Garden waste comprises approximately 20% of household refuse in the UK. Processing this material on-site eliminates transport emissions and landfill burden. Shredded material decomposes faster than whole branches, accelerating its return to the natural nutrient cycle.
Creating valuable garden resources
The mulch produced serves multiple purposes:
- Moisture retention around plants during dry periods
- Weed suppression in borders and vegetable beds
- Soil improvement as organic matter breaks down
- Path surfacing for informal garden walkways
Long-term financial advantages
| Benefit | Annual saving |
|---|---|
| Avoided waste collection fees | £40-80 |
| Mulch not purchased | £60-120 |
| Reduced water usage | £15-30 |
| Compost not bought | £30-50 |
These environmental and financial advantages accumulate year after year, though certain adjustments can further enhance performance.
Optimising the performance of your shredder over time
Upgrading components for improved efficiency
Consider replacing standard blades with carbide-tipped versions after the initial blades wear out. These maintain sharpness significantly longer and handle tougher material more effectively. A more powerful motor can be retrofitted if you find yourself regularly processing larger branches than originally anticipated.
Modifications based on experience
Many builders add refinements after using their shredder for a season. A collection bag attachment prevents scattered debris. Adjustable hopper guards accommodate varying material sizes. Some users install a secondary screen to control output particle size for specific applications.
Seasonal preparation strategies
Before heavy autumn pruning periods, conduct thorough maintenance including blade sharpening and bearing lubrication. During winter storage, cover the shredder to protect electrical components from moisture. Apply rust-prevention treatment to exposed metal surfaces in damp climates.
Building a garden shredder yourself delivers substantial practical benefits whilst developing valuable skills. The combination of cost savings, customisation options and environmental advantages makes this project worthwhile for active gardeners. Proper construction using appropriate materials ensures reliability, whilst regular maintenance and thoughtful upgrades extend service life indefinitely. The resulting self-sufficiency in managing garden waste represents both financial prudence and ecological responsibility, transforming what was once refuse into a valuable resource that enriches your soil and supports healthier plant growth throughout your garden.